How to Clean Your Copper Sink

My two copper sinks get LOTS of use - I’ve had them for over 10 years and love the rustic, warm, cozy feeling they give my kitchen.
This post is about how to clean your copper sink.
Are you looking for ideas on how to clean your copper sink? If you’re reading this, I’m guessing you either already have a copper sink or maybe you’re thinking of installing one! I personally have two copper sinks and learning how to clean and maintain them is something I struggled with for a long time.
In this blog post, I’ll share how to clean your copper sink without any fuss. It isn’t as hard as you think and with a few simple ingredients and regular cleaning you can keep your copper sink clean and beautiful.
Benefits of a copper sink
When I was remodeling my kitchen, initially I was drawn to the beautiful color and texture of hammered copper sinks. However, once I started to do research I realized there are so many benefits of using a copper sink in your home. There is so much more to copper than just aesthetics!
Copper is a “self-healing” metal meaning minor scratches will disappear. It is an extremely durable metal that will stand the test of time.
The incredible anti-bacterial/anti-microbial properties of copper can help keep your kitchen extra clean and safe for your family.
Copper is a very eco-friendly choice. It can be easily recycled and with its extra-long lifespan, you will not need to replace it as frequently as other sink materials. I have had mine for over 10 years and they are just as gorgeous as the day they were installed.
A copper sink is a functional design choice that also makes a bold statement above and beyond being just a sink. Whether you choose a vintage farmhouse sink or sleek modern sink, a copper sink stands out and gives your kitchen a special touch you just don’t feel with a regular stainless steel sink.
Copper sinks come in all different sizes, shapes, layouts, finishes and functional options. For example, I have a large double sided kitchen sink in my cleanup area next to the dishwasher and a smaller size for my prep area on my island.
Your beautiful copper sink will go through a natural patina process and develop a unique coppery tone based on the environment in your home and how you treat it.

Why you need to clean your copper sink
Ok, here’s where we talk about the REALITY of owning a copper sink and I learned this the hard way. Your new copper sink will be GORGEOUS and come with the copper patina created by the manufacturer. However, if you aren't familiar with copper sinks, you may freak out seeing shiny spots, green spots, or dark/blackened areas appear on your beautiful sink once you start to use it.
I'm here to tell you not to freak out - this is all normal and can be fixed!
First off, if you have hard/high mineral content water in your home (like I do), then you definitely need to take extra care of your sinks.
With hard water, the extra mineral deposits build-up quickly on your sink, especially in the corners of your sink. This can leave water spots, green spots and a greenish/black layer of gunk that can be hard to remove. Luckily, the cleaning method I’m about to share with you takes care of this problem and I am LOVING how easy my sinks are to care for now!
In addition, even if you do not have hard water - you will notice that certain foods may discolor your copper sink. Its important not to leave highly acidic foods (like tomato sauce, lemon juice, salad dressings) in contact with your sink surface overnight or for long periods of time.
While the acidic foods will not permanently damage your copper sink, it WILL create a temporary bright and shiny spot where the acid touched the copper. If you have a sink with a darker patina, the acid spot will stain the surface. The acid spot WILL disappear after a few days of regular use - so if that bright spot bothers you, then make sure to take care when working with acidic foods or juices in your sink.
Additionally, copper can react with certain metals (like an empty can from canned goods) and leave a brown spot or ring at the contact point. But don’t freak out, it will fade in a couple days and you won’t even know it was there.
Again, remember that copper is very different from other hard surfaces, it is a living finish and almost nothing you do to it through normal use, will have a negative lasting effect. Scratches, stains, and build-up will go away with proper care! But it is important not to use harsh chemicals on your sinks which could seriously damage your sink over time.
The patina of your sink can vary from a dark brown/black to a bright copper color - it will age over time based on the unique environment of your home, usage, and care. I’m still working on smoothing out the black areas from hard water and wax that I was previously using and its getting lighter and more even over time.
How to clean your copper sink
Prior to finding this method of cleaning my sink, I tried SO many things that just did not work. You want to avoid scrubbing with steel wool or other highly abrasive materials. This is a terrible waste of time and can scratch your sink’s surface. Copper wax and Renaissance wax are often recommended, but I found it left a gunky build-up and it was SO hard to apply! Not worth the effort! Plus, it defeats the anti-bacterial benefits of the sink.
I was incredibly frustrated and it felt like an uphill battle until I started using this method of cleaning my sinks which is so simple and effective.
In order to properly clean your copper sink in just a few easy steps, you will need:
2 cups baking soda
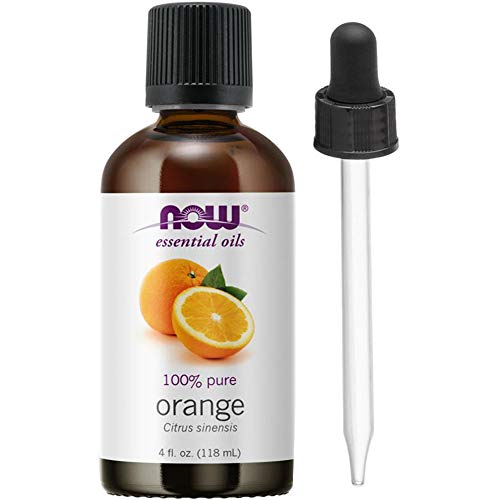
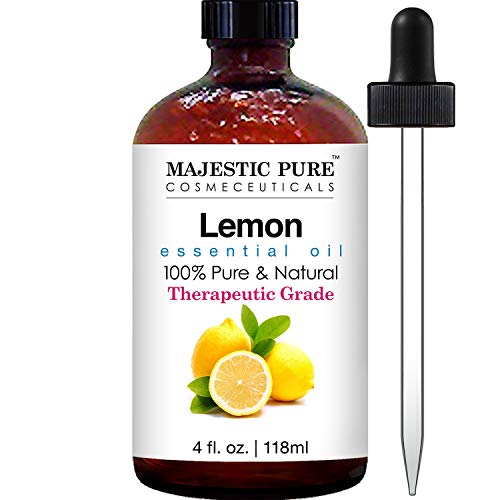
20 drops of essential oil (I recommend a blend of orange and lemon)
mason jar + lid
soft bristle brush
a few drops mild dish soap
warm water
paper towels or soft cloth
First you will make your homemade sink cleaner. Pour the baking soda into a mason jar, then add the essential oil drops and stir with a butter knife until mixed well. Make sure your sink is empty and all food particles have been removed.
Next, sprinkle a little baking soda mixture into your sink.
Then squirt a couple drops of mild soap into your soft bristle brush and wet the brush with warm water.
Gently scrub your sink, carefully brushing all surfaces of the sink in a circular motion paying special attention to the corners and where your sink meets your countertop and adding water as needed. Make sure your brush is wet and not dry scrubbing the sink. The baking soda should NOT be a paste - instead more of a gritty liquid. (hopefully that makes sense, lol!).
Once you have scrubbed the entire sink, rinse the sink well with warm water, making sure the baking soda mixture is washed away.
Once your sink is rinsed thoroughly, take a soft clean cloth or paper towel and dry the sink. This step is especially important if you have hard water!
This is the last thing I do at night after cleaning the kitchen and it leaves everything smelling so fresh and clean!
Please note - when I started this method, it took about a week of doing this daily for the hard water buildup to noticeably subside. I definitely used a lot more baking soda at first, but now I use a lot less. This method may change the patina of your copper sink, so make sure to check with your sink supplier if you are trying to achieve a certain look.
You could use a small amount of Barkeeper’s Friend or The Pink Stuff in place of the baking soda and I have tried both. but I find the baking soda gives the best results and is easy, economical, and environmentally friendly! I recommend doing this on a daily basis.
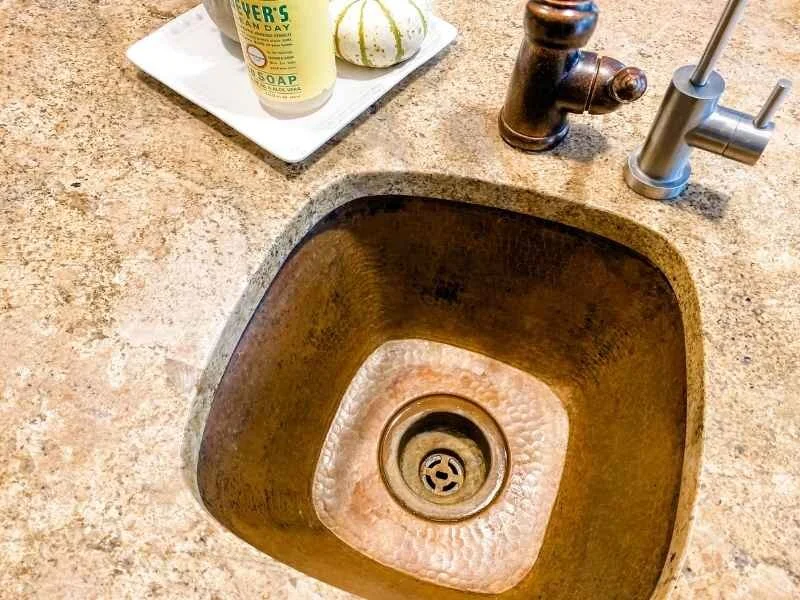
As you can see in the photo above, my sinks are not “perfect” - but they are used and well-loved. I’m so happy to have a simple and easy way to care for them, now. I discovered this method via Clean Mama. I hope you found this post helpful - it has been a game-changer in keeping my kitchen clean.